
In this walkthrough I will try to explain my specific case of data migration. I tried to find something on the internet and found nothing. This text is just a base that can be deepened with more complete data later.
In my migration scenario I had the following case:
- The old site data was also in WordPress
- The old website system was created with “Custom Post Types”
- The fields and nomenclatures were different and were in Brazilian Portuguese.
I tried to export the data through the wordpress exporter, but it did not export the addresses of the images. I tried to install a plugin to include the addresses of the images, but it did not run on PHP 5.6 and when I switched to PHP 7.2 the site was blank, because it was a very old site.
The best way to export data is to use the “WP All Export” plugin, as it will make importing data much easier later.
So, I installed the “All Export” plugin on the old site, see the steps I used to export:
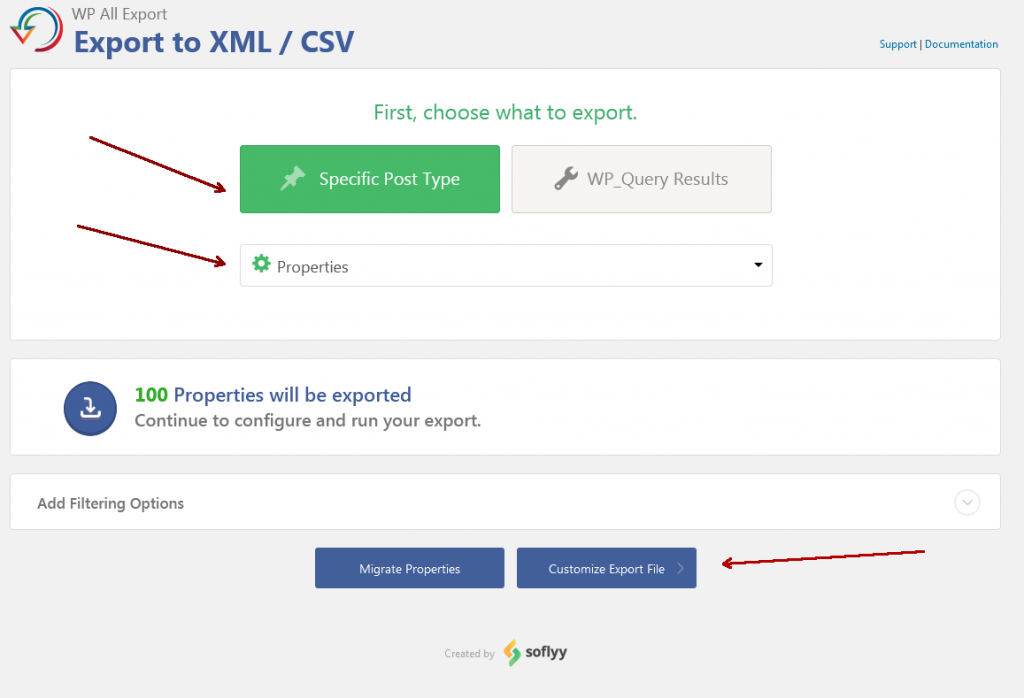
Select “Specific Post Type”.
In the second field I chose “Properties”, which in my case were the fields of “Custom Post Types”. In your case you need to check the name of the “Custom Post Types”.
Click on the “Customize Export File” button.
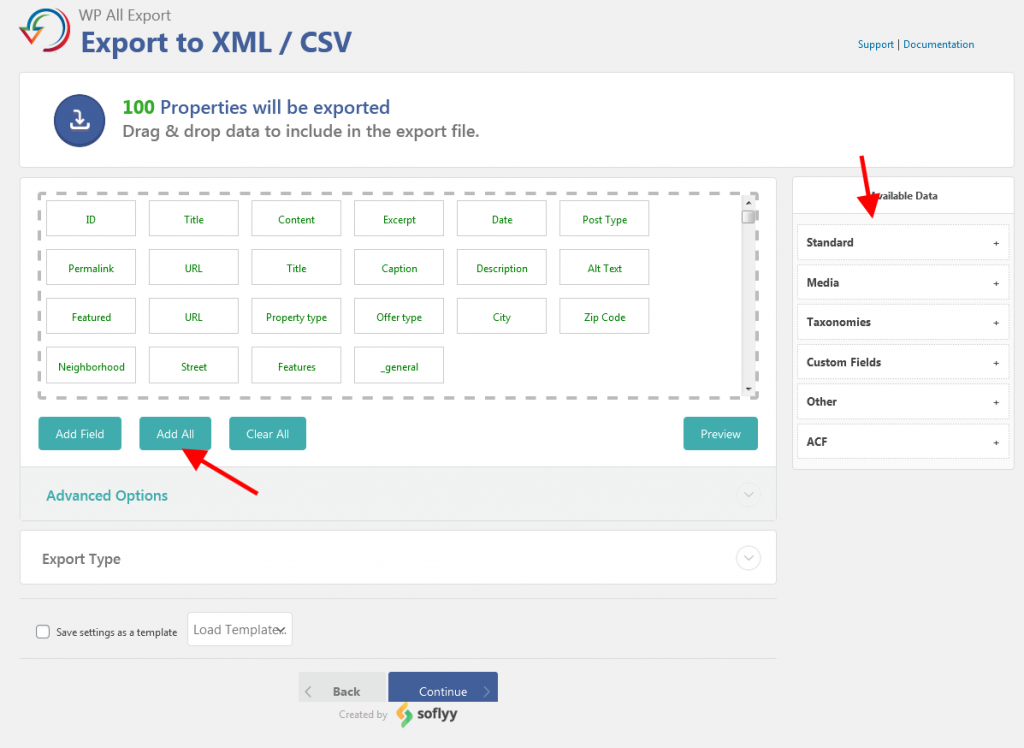
On the next page, you can select “Add All” or customize the fields that will be exported. Just open the data on the right side. You can search the plugin documentation for more information.
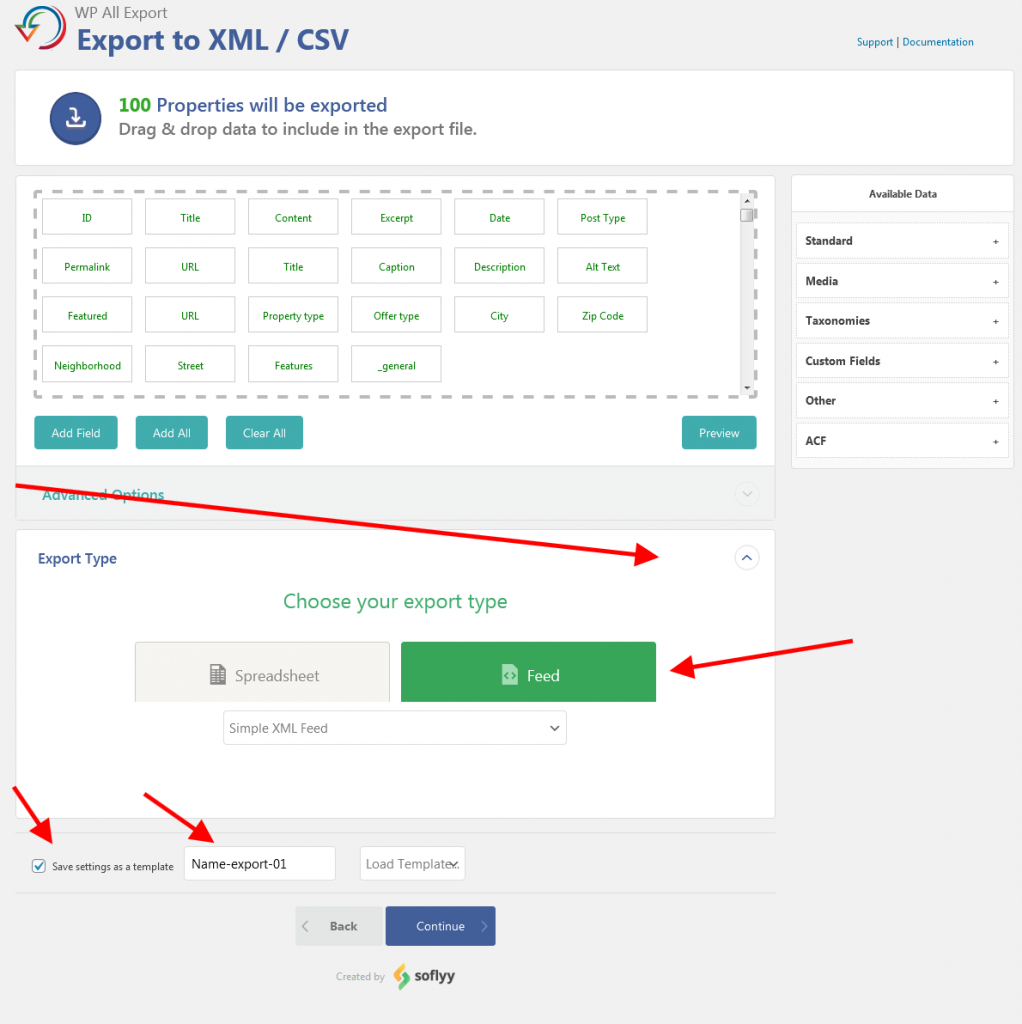
Click on “Export Type” and select “Feed” to export to XML. The “Spreadsheet” option is exported in CSV. I had problems due to special characters exporting to CSV.
As I customized the export, I selected the option “Save settings as a template” and put a name, because I had to export several times until it was in the format I needed.
Click on the “Continue” button.
In this step I left everything standard, but you can find more information on the website of the plugin developer “WP All Export”.
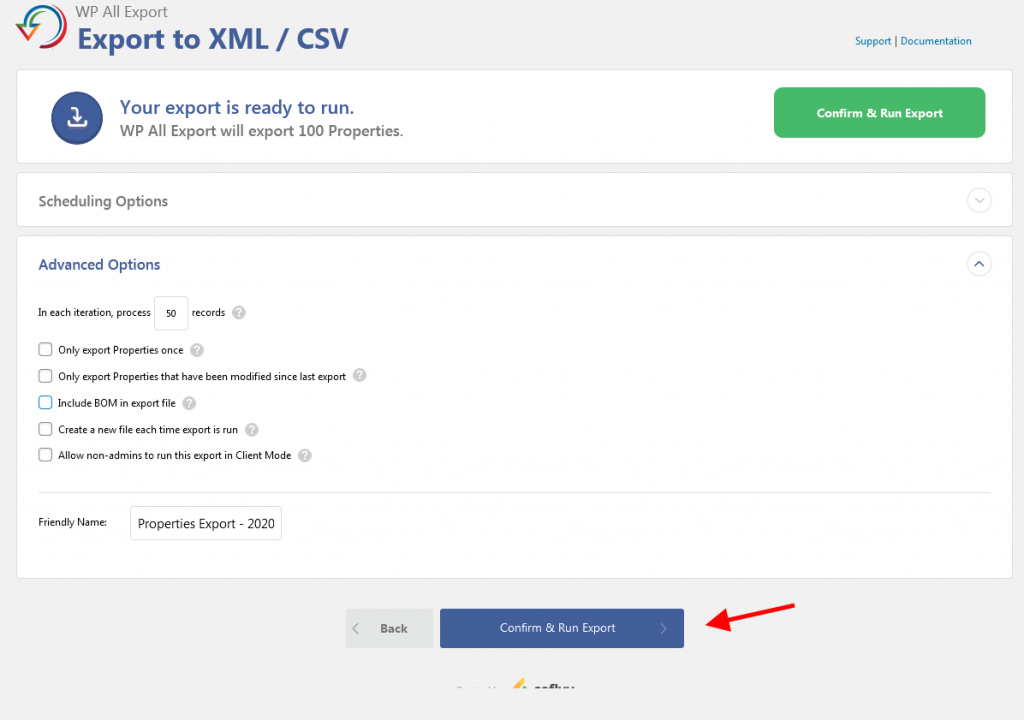
Click on the “Confirm & Run Export” button.
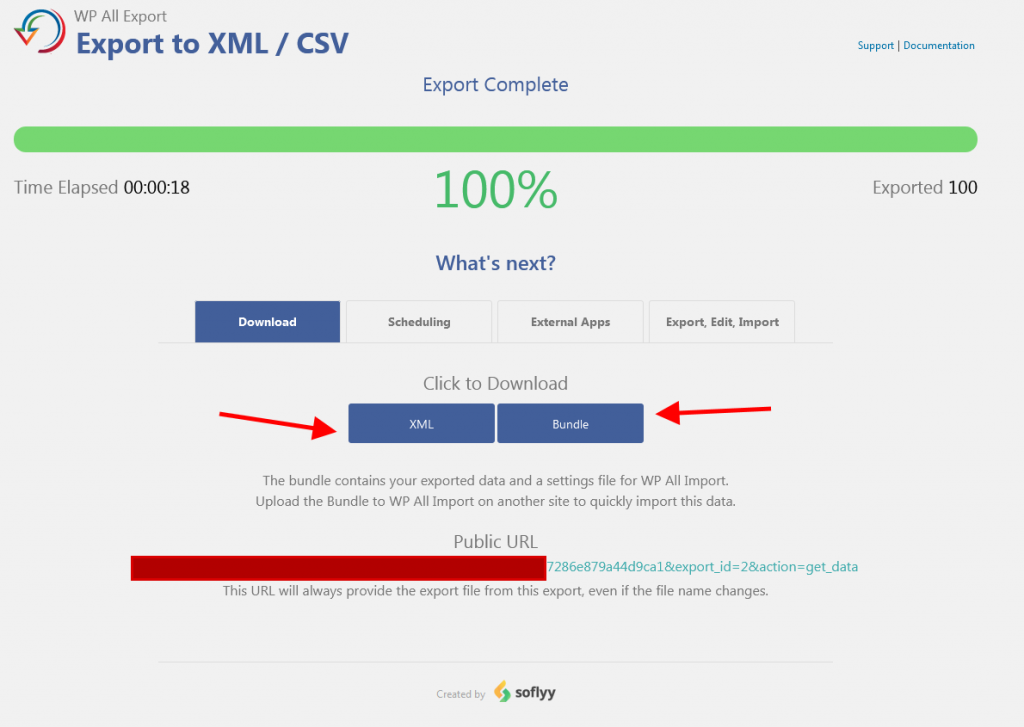
Now just download the file.
Importing to the New Site with the My House template
To import the data to the new website with the My House template you will need the paid plugin “WP All Import Pro”.
Had some fixes in the ACF Add-On (Advanced Custom Fields). Only “Version 3.3.1-beta-1.4” (WP All Import – ACF Add-On) or higher will be compatible with ACF and the My House Template.
STEP 1
Install the “WP All Import Pro” plugin and the “Add-On”, click on “New Import” in the WordPress administration panel menu.
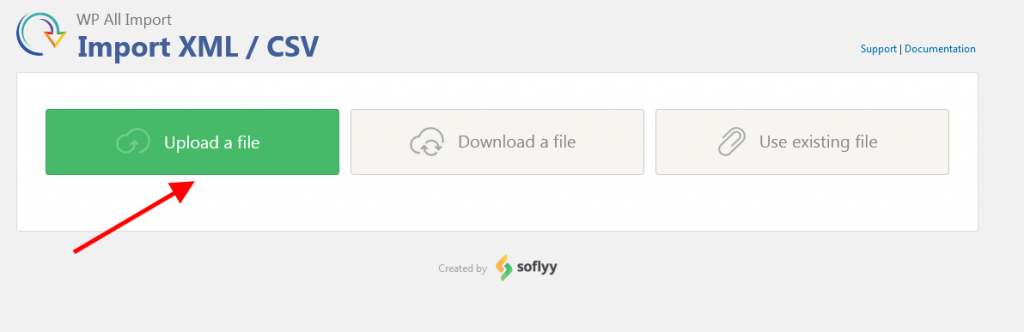
Click on “Upload a file” and select the file we exported from the old site.
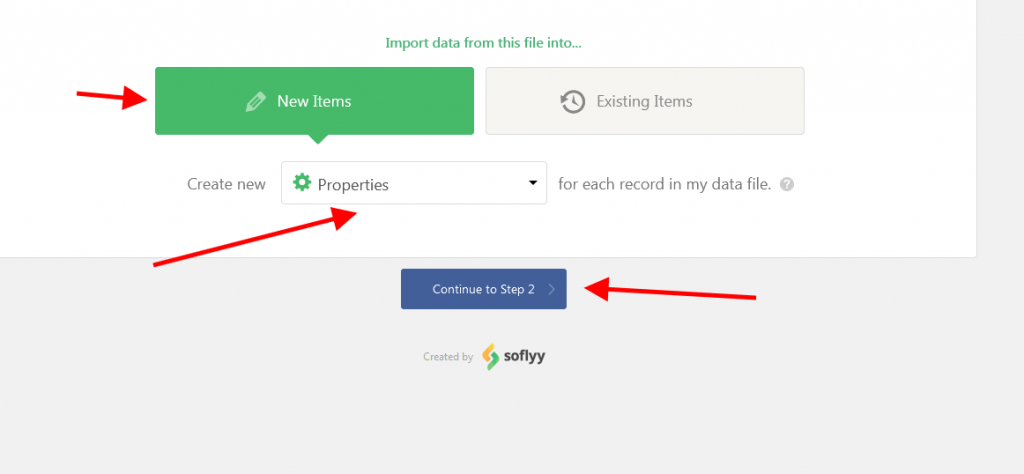
More options appear to choose from. Click on “New Items“. Choose “Properties” and click on the “Continue to Step 2” button.
STEP 2
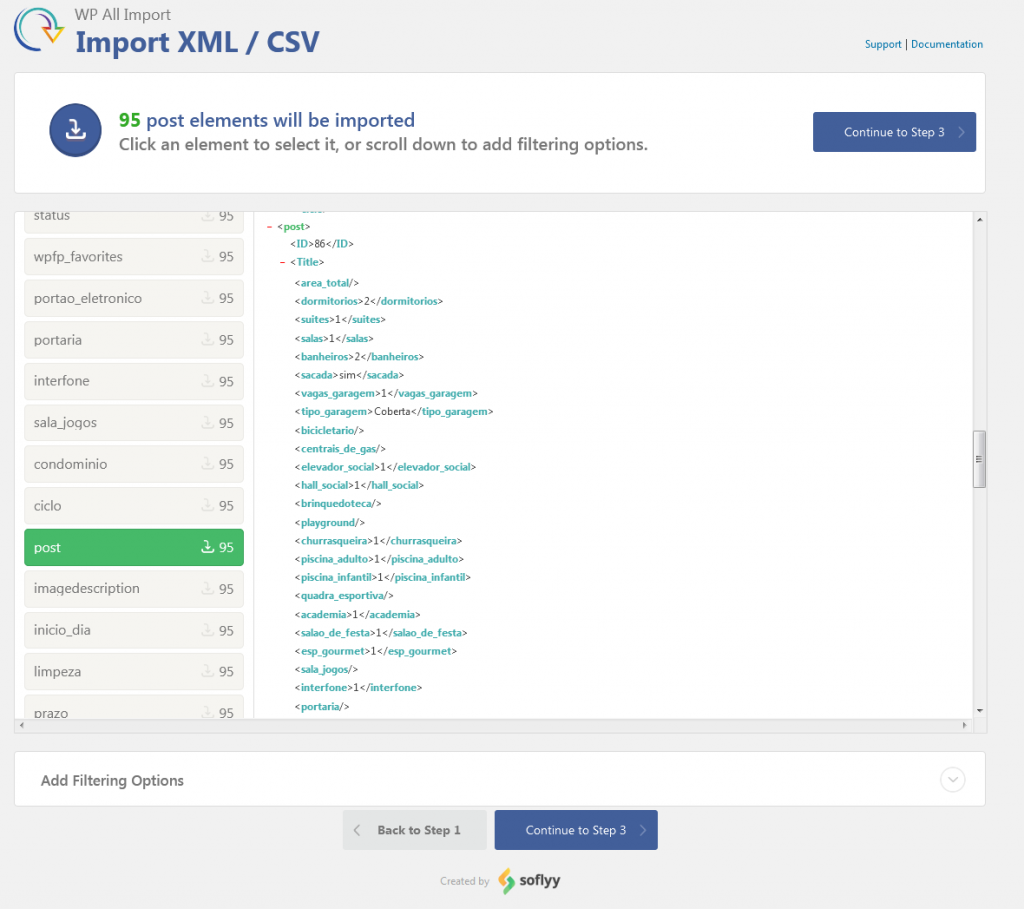
Each item in the XML file is called a “post”. It is a format created by the “WP All Export” plugin. In my case, he found the 95 properties exported from the old site. Click the “Continue to Step 3” button.
STEP 3
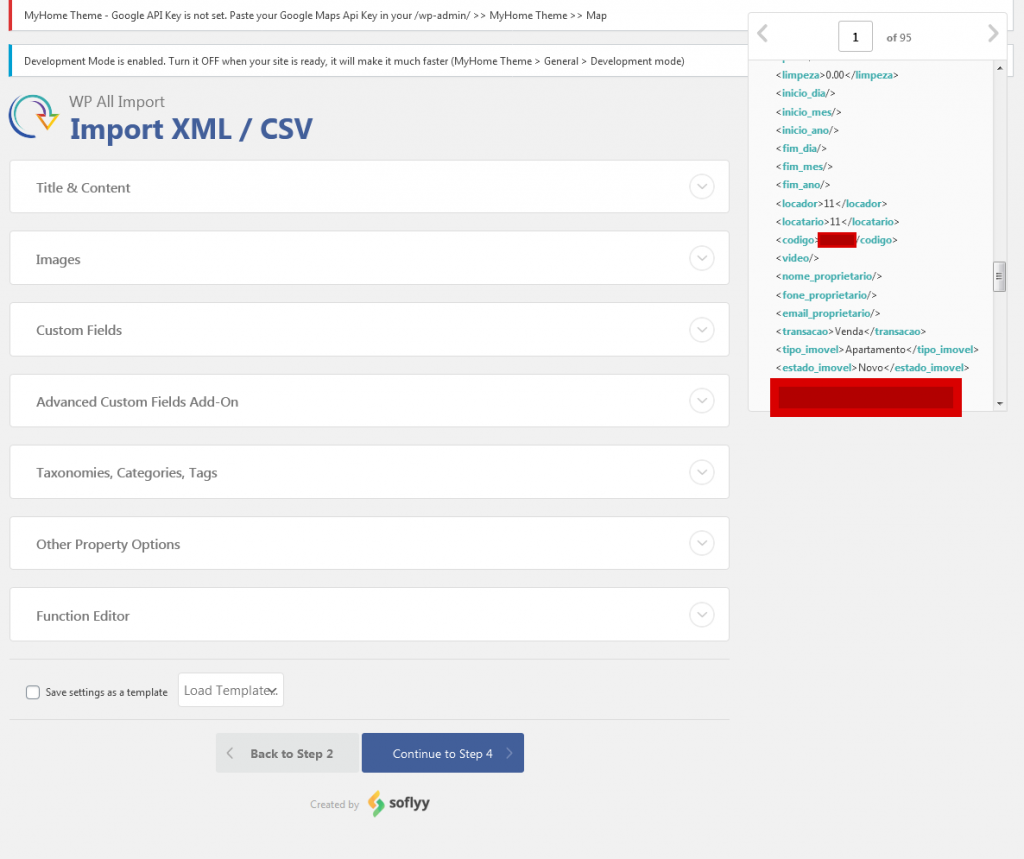
On this screen you start to integrate the data with the Template My House fields and the ACF plugin. It is a little complex and I suggest you to start by clicking on “Save settings as a template” and put a name, as it may be necessary to do tests. So you already have all the fields registered in the next tests, you just need to modify them.
We will divide each item into parts.

On the right side are the data from the XML file and content. On the left side the fields. Just click on the items in the XML file and drag to the corresponding field.
In the “Preview” button you can see how the content is distributed. The same thing you must do for the following items.
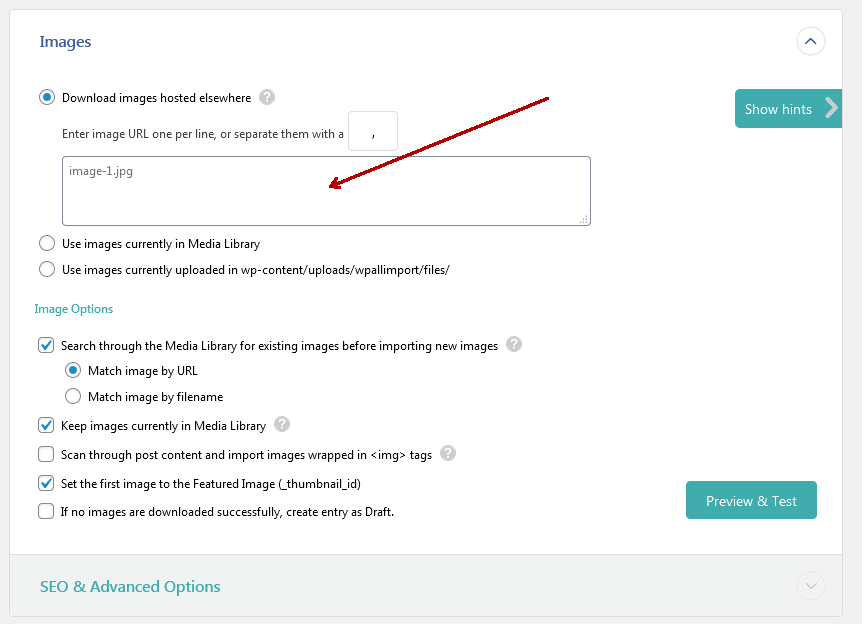
The item “Images”, in this case, is the featured image of wordpress. Try looking for the “ImageFeatured” item on the right side of your XML file.
There are other ways to import images, I haven’t tested them all, but in the plugin’s documentation you can find more information.
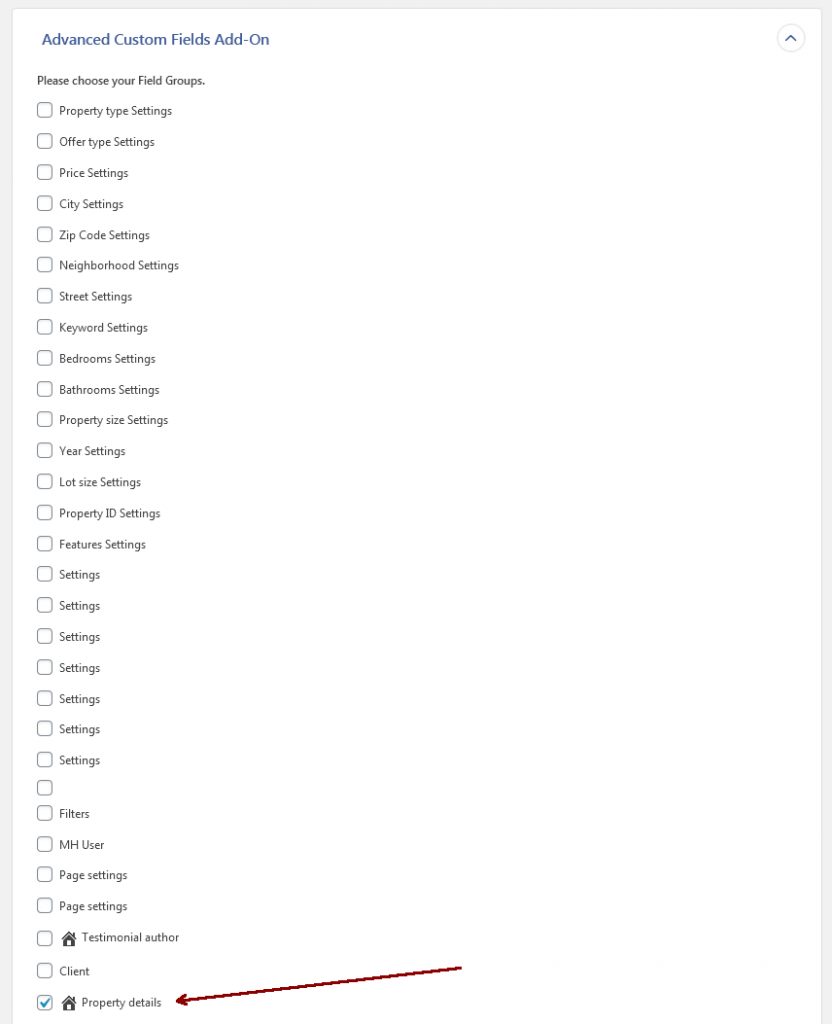
In the “Advanced Custom Fields Add-On”, it was the item that took the longest to configure. At the beginning I came across issues of incompatibility with the ACF plugin and the Template. I am very grateful for the support of the “WP All import” plugin and the support of the Template My House that helped a lot in this step.
Select “Property details”
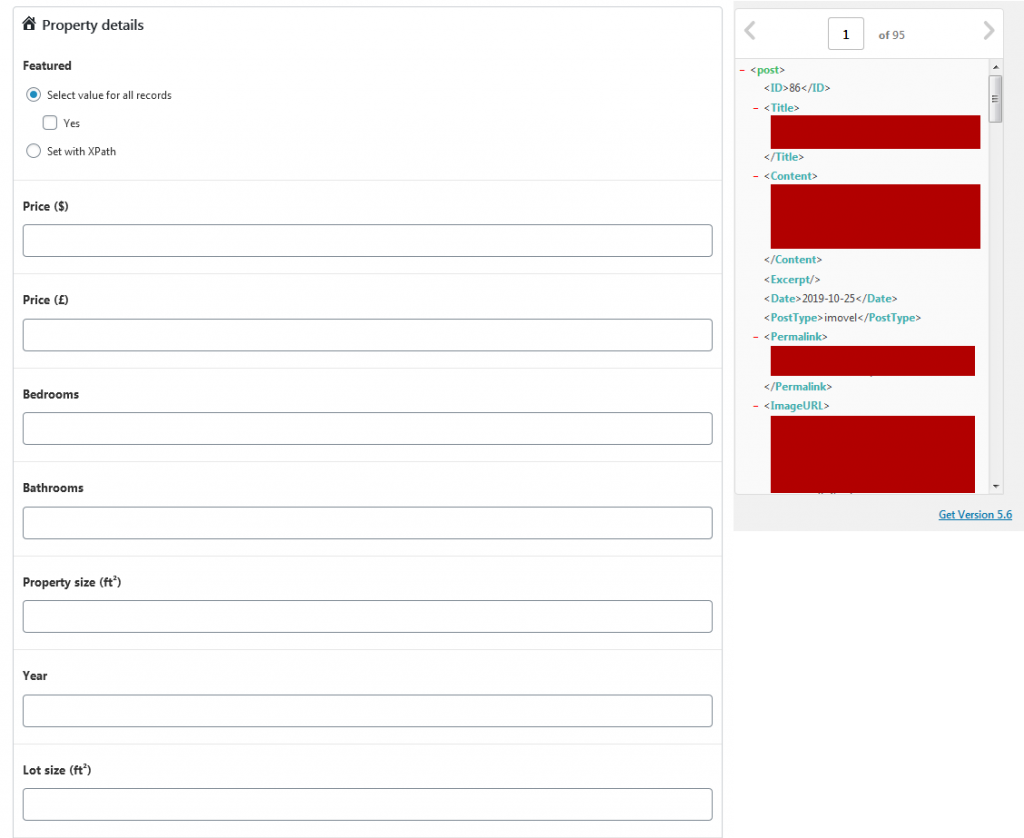
As in the previous item, drag the items on the right to the corresponding fields on the left.
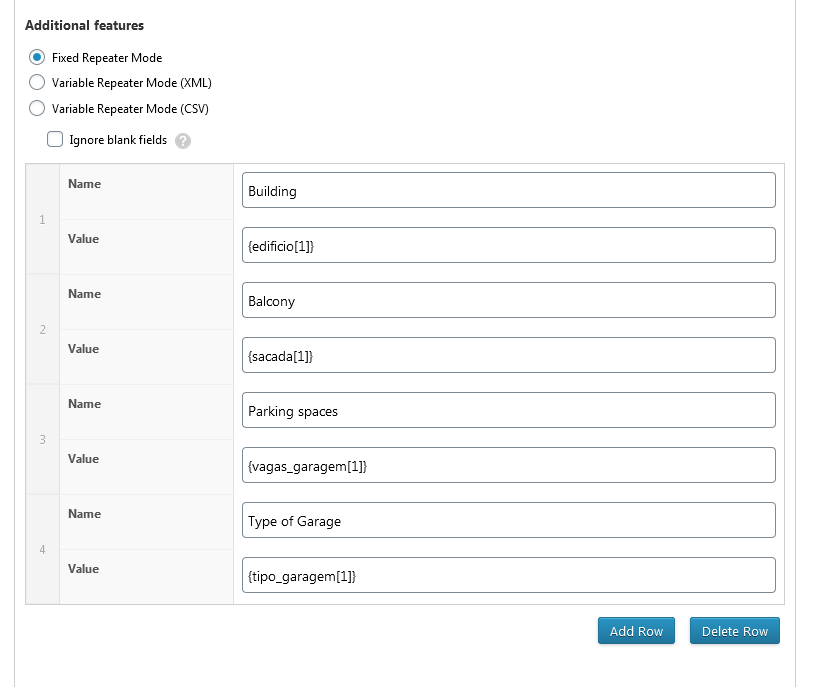
I had to register extra fields that are not in the My House template. Just click on the “Add Row” button and register the fields. In “Name” type the new field and drag the data from the XML file to the “Value” field.
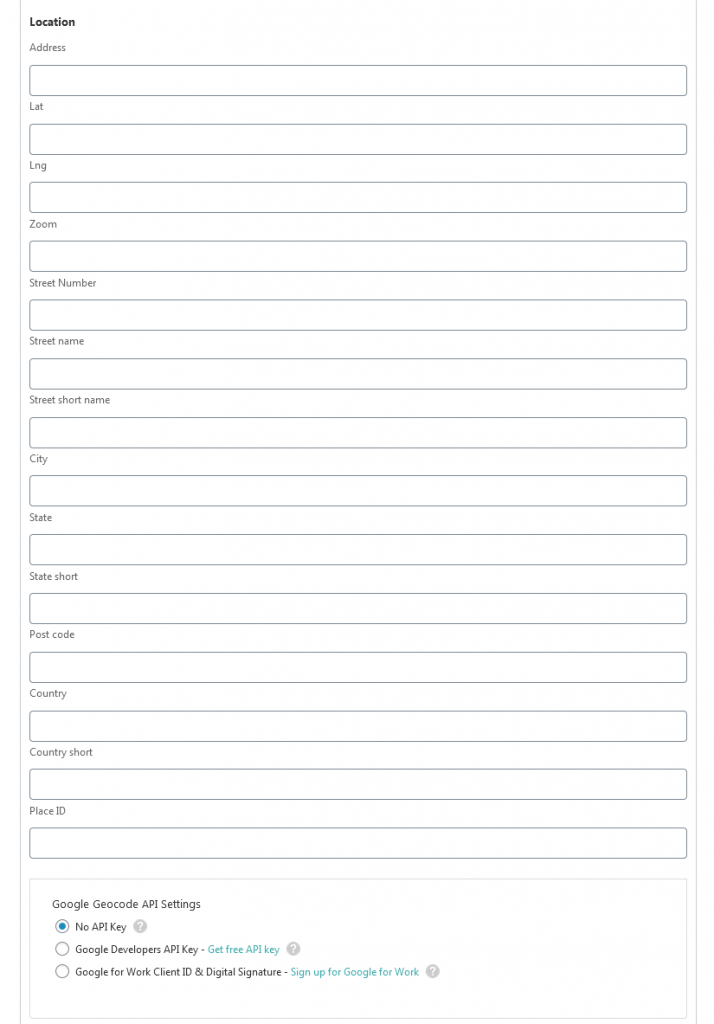
We did not register any fields, as the customer did not think it necessary to have a location map. Google is charging to use the API.
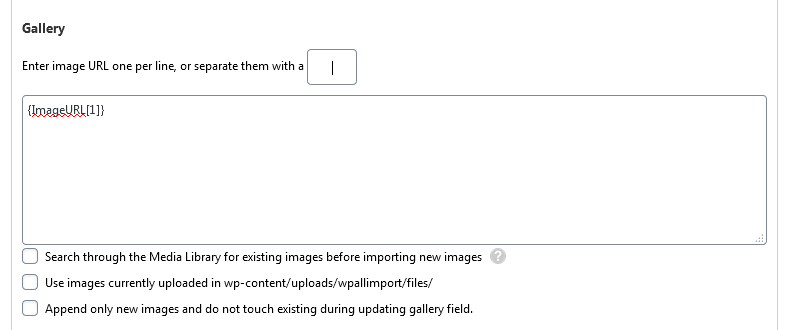
The addresses of the images in the image gallery are separated by “|” put in the field “Enter image URL one per line, or separate them with a”. In the XML file the item is called: “ImageURL”, just drag.

In my case there was no “Plans”, but just click on “Add row” and register the data.
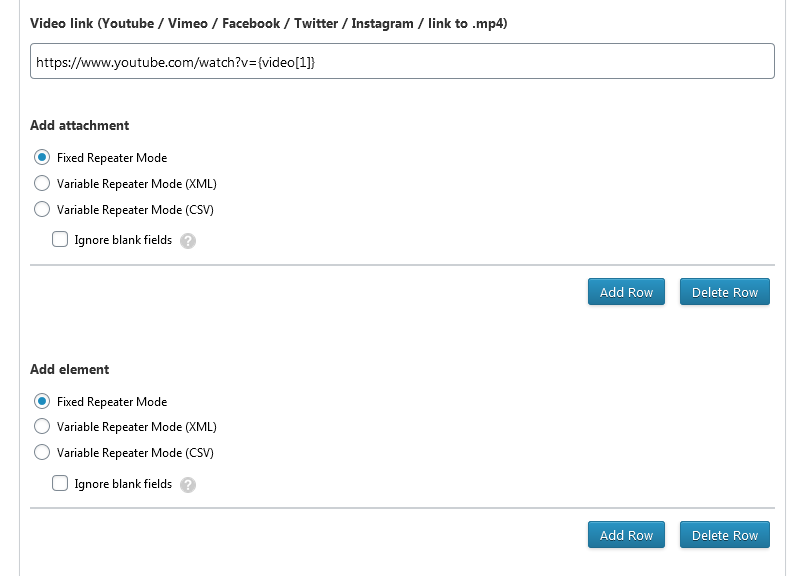
In the XML file I only had the Ids of the youtube videos, so I did the import this way, put the youtube address plus the data from the XML file. The other items were not required to be imported.
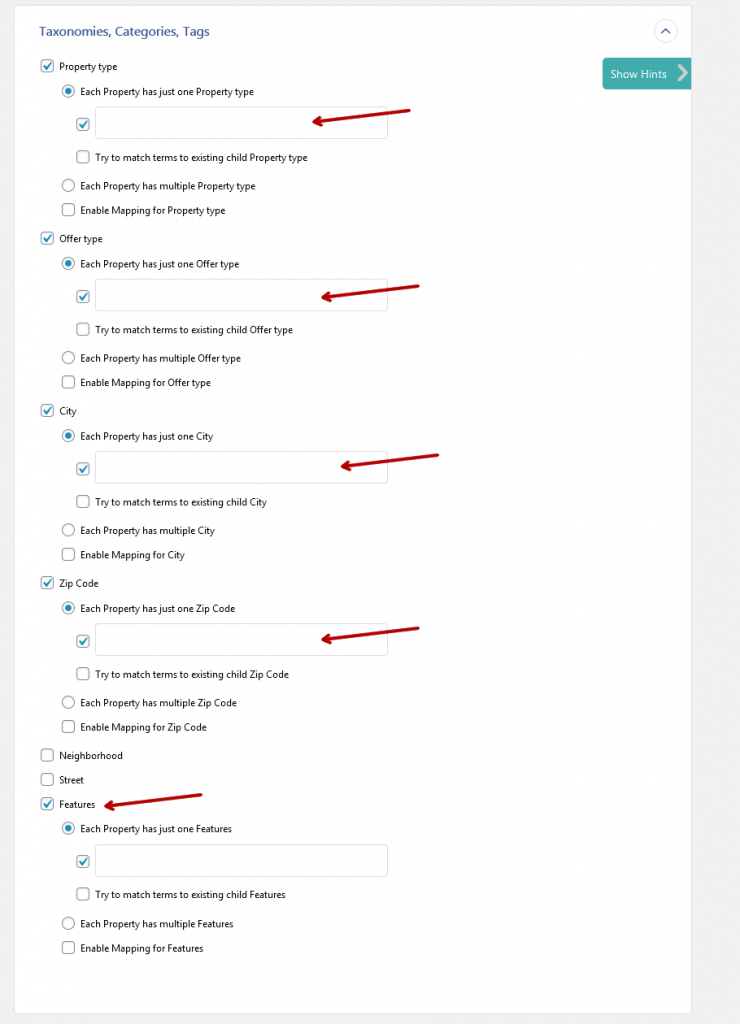
Here do the same thing, drag the items to the corresponding fields.
One problem I had was with “Features”. The items in the XML file showed one and zero. That is, enabled and disabled to view on the old site. In the My House template you just register the name of the “Features”. I didn’t try to look for more information in the “WP All Import” plugin documentation due to the time of bug fixes and import. But I believe that going back to Step 2 in “Add Filtering Options” you can replace the number 1 with the name. In the end I chose to do it manually, created a list of “Features” in the “Content” field of WordPress and updated posts by post later.
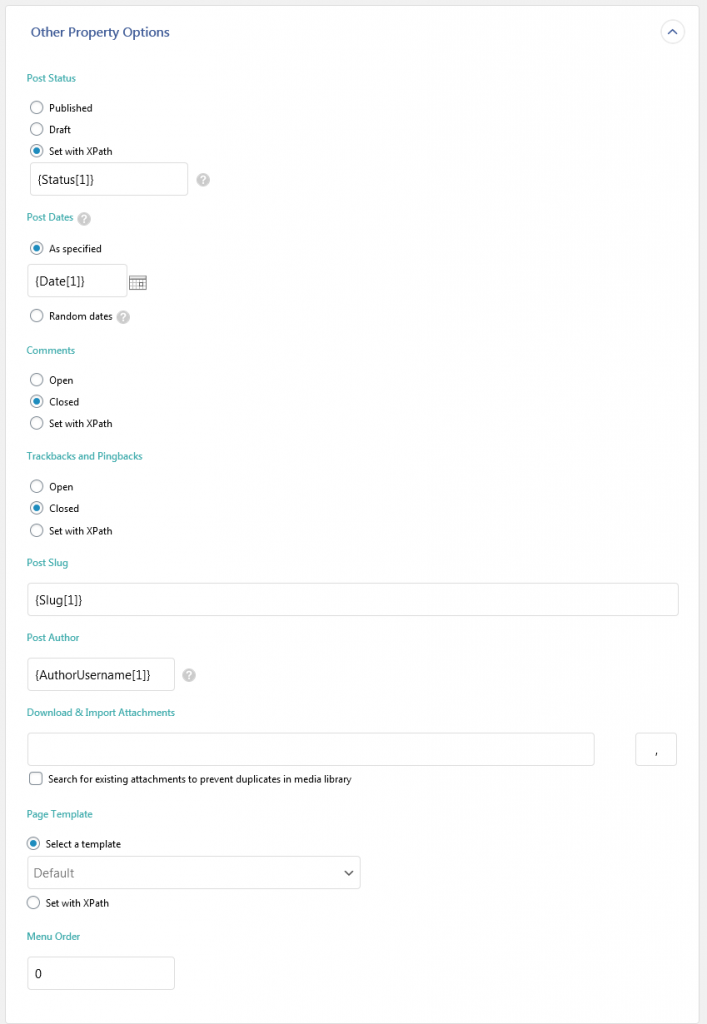
In the item “Other Property Options” I put the data that is in the image above.
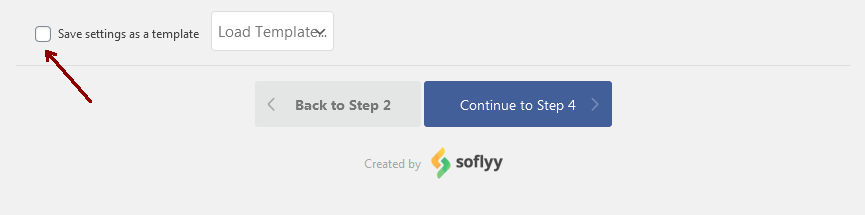
Click on “Save setting as a template” and enter a name. This is good if you need to import the data again. You will have a “Template” with all the entries made.
Click on “Continue to Step 4”.
STEP 4
In this Step, click on the “Auto-detect” button to generate an “Unique Identifier”. The other items I left default of the plugin. In the option “Configure Advanced Settings” the developer suggested using 1 for “In each iteration, process”, but this can be increased, if your server can process more. Shared servers do not have very large processing power and error is shown frequently.
Click “Continue” to complete the import.
STEP 5
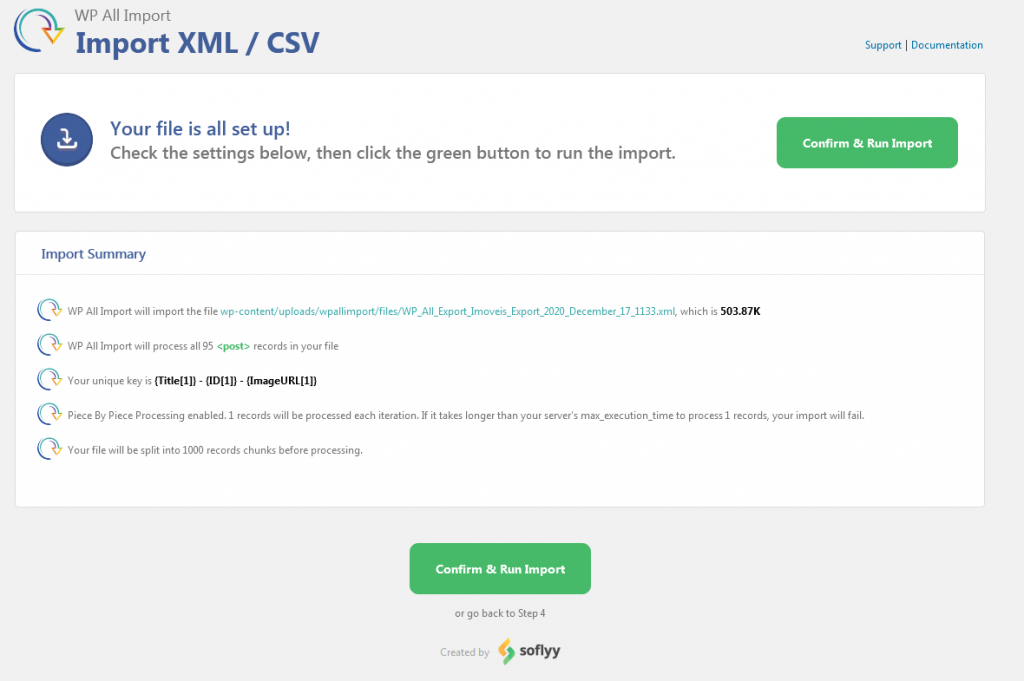
Some import information will be shown. Click on “Confirm & Run Import”.
STEP 6
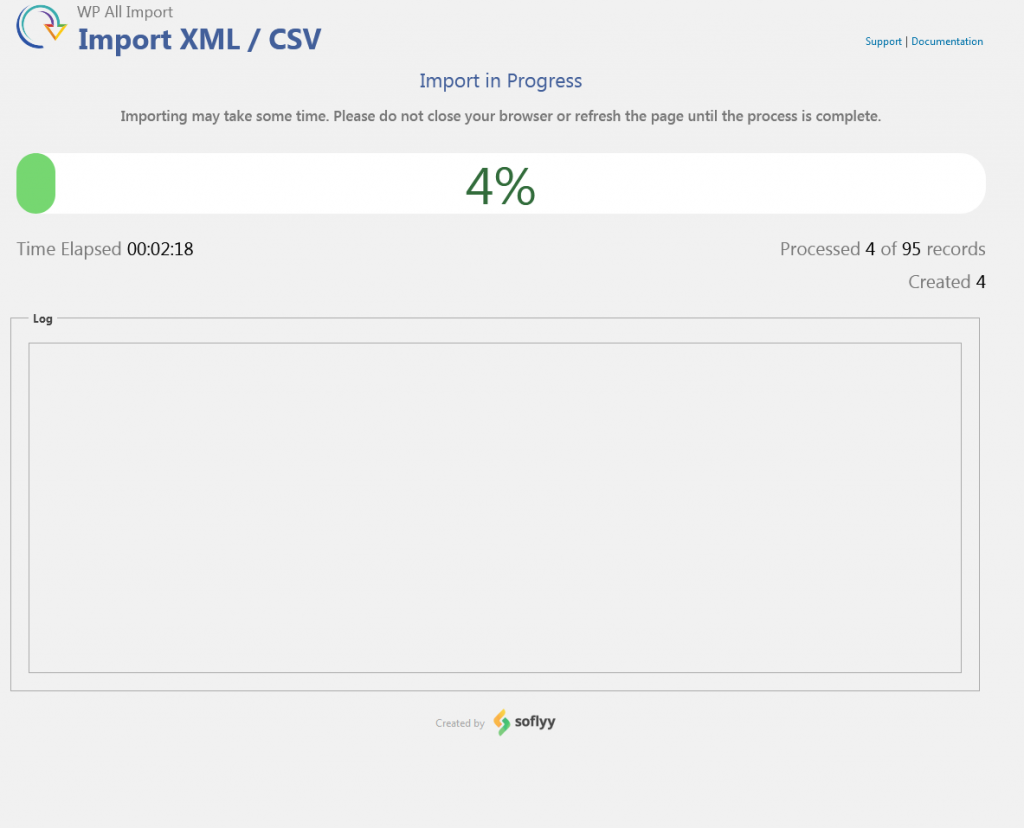
It will now show you the data import process. Do not close this page, let the bar reach 100%. In my case, each property had 15 to 20 images. It took about 2 hours to complete everything.
Importing data is quite laborious, as each case will have particularities. In this tutorial I tried to explain a little about my specific case. A platform that used “Custom Post Types” for Theme My House that uses the ACF plugin as a base. Perhaps the paths I used here will help you find other solutions to your problem.
I am very grateful for the support of the My House template – Tangible Design and the “WP All Import” plugin for bug fixes to make the plugin compatible with the Template.
Note: I will leave a link to a video that helped me better understand data import. It is a basic video, which can help you understand how the “WP All Import” plugin works: